實作 Redux 與 React 的串接
回憶
昨天介紹了 Flux 架構和它的實作套件 Redux。最後我們寫了簡單的 Redux 程式,體驗 Redux 如何運作。以 Flux 架構圖來說, 昨天的內容是
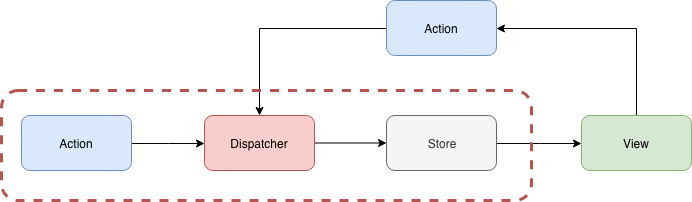
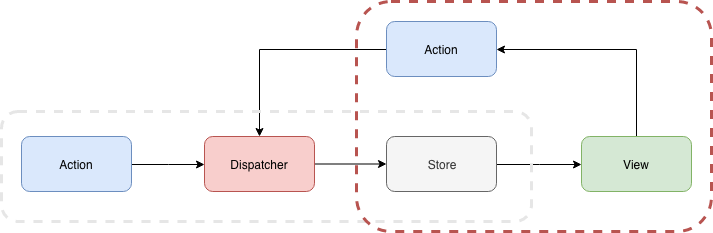
今天我們要專注在與 React 的串接
目標
- 實作 Redux 與 React 的串接
- 安裝 Chrome extension Redux DevTools 確認 Redux 有運作
Redux 與 React 的串接
我們實際引入 Redux 到之前的 hello-react 專案中
安裝 redux: 建立 Reducer, Store
-
複制 Day 11 - 一周目- 開始玩轉前端(二) 的專案
hello-react -
安裝 Redux:
npm install redux --save -
建立
RootReducer.js,放在reducers/RootReducer.js1// reducers/RootReducer.js 2const initState = {}; 3const reducer = (state = initState, action) => { 4 const {type} = action; 5 switch (type) { 6 default: 7 return state; 8 } 9}; 10 11export default reducer;這裡我們建立了一個
RootReducer,不打算合併其它的 reducer。若你需要更有結構的 state,你可以用combineReducers合併多個 reducer。以const rootReducer = combineReducers({ login: LoginReducer, account: AccountReducer,})來說, state 是巢狀物件,它有login、account分別可以索引到LoginReducer、AccountReducer裡面的 state。 -
開一個 stores 資料夾,建三個檔案
configureStore.js、configureStore.prod.js、configureStore.dev.js1// stores/configureStore.js 2if (process.env.NODE_ENV === 'production') { 3 module.exports = require('./configureStore.prod'); 4} else { 5 module.exports = require('./configureStore.dev'); 6} 7 8// stores/configureStore.prod.js 和 stores/configureStore.dev.js 9import { createStore } from 'redux'; 10import RootReducer from '../reducers/RootReducer'; 11 12export function configureStore(initialState) { 13 const store = createStore( 14 RootReducer, 15 initialState, 16 ); 17 return store; 18}我們未來只要
import {configureStore} from 'stores/configureStore'就可以依照環境變數NODE_ENV,選用 store。因為是同樣的程式碼,當 Redux DevTools 引入時就會不一樣。
安裝 react-redux:把 Store 送入 View 中
之前只安裝了 Redux 的 Reducer 和 Store,但最後我們要把 Store 送到 Controller-View 中,這樣 Controller-View 才可以用 store 拿出 state (store.getState()) 和 dispatch action (store.dispatch(action))。
React Context:component tree 中任何地方都可以拿到的值
為了完成這件事要用到 React Context,這是由 React 提供的,它的功用是在 component tree 中的上層把值送入後,底下的所有 subcomponent 任何一層都可以拿的到這值,而不用一個個傳遞下去。
舉官方例子:

theme value 要從 App 送 到 ThemedButton 中,用 Context API 後邏輯上就是 (B) 圖,實際使用Contenx API 就是 (C)圖。
 1// 建立一個 Context
 2const ThemeContext = React.createContext('light');
 3
 4class App extends React.Component {
 5  render() {
 6    // 使用 ThemeContext.Provider 把值送入
 7    return (
 8      <ThemeContext.Provider value="dark">
 9        <Toolbar />
10      </ThemeContext.Provider>
11    );
12  }
13}
14
15// 這是中間層的元件,不用把值送到 <ThemedButton/> 中
16function Toolbar(props) {
17  return (
18    <div>
19      <ThemedButton />
20    </div>
21  );
22}
23
24// 這是下層的元件,只要用 ThemeContext.Consumer,就可以取出值
25function ThemedButton(props) {
26  return (
27    <ThemeContext.Consumer>
28      {theme => <Button {...props} theme={theme} />}
29    </ThemeContext.Consumer>
30  );
31}
回到 Redux,一般來說我們也要做類似的事情,但有大神們開發了 react-redux 套件幫我們把 Store 送入 View 中,我們甚至不會察覺到 context 的存在。
react-redux: 串連 redux 和 react
react-redux 提供兩個好用的函數:
Provider:我們再也不用建立 Context,直接用庫提供的Provider<Provider store={store}>送入 storeconnect(mapStateToProps, mapDispatchToProps)(component):連接 state 到 component props 和連接 「dispatch行為」 到 component props (指事件的 callback props, ex:onClickButton,要執行派發 action)。 更明確地說,這 API 結果就是回傳<component {...mapStateToProps()} {...mapDispatchToProps()} />
其實,
connect是 high-order component (HOC),它輸入 component 送出 component。見重構 React component 邁向 Prue/Container component 和 HOC
開始套用吧~
把 store 注入 component tree
- 安裝 react-redux:
npm install react-redux --save - 找到 Component 的入口
./index.js,建立 store,放入<Provider store={store}>1// index.js 2import { Provider } from 'react-redux'; 3 4ReactDOM.render(( 5 <Provider store={store}> 6 <App /> 7 </Provider> 8), document.getElementById('root'));
建立第一組 Container/ Pure component: LoginBox
Controller-View (component) 雖然沒有存 state,但它與 store 串連,所以它邏輯上來看就好像有自己 state,所以也可以稱為 Container。反之,完全沒有 state 的 component,被稱為 Pure component。
- 建立
components/LoginBox.js1import React, { Component } from 'react'; 2class LoginBox extends Component { 3 render() { 4 return ( 5 <div> 6 message: {this.props.message} 7 </div > 8 ); 9 } 10} 11export default LoginBox; - 建立
containers/LoginBox.js1import { connect } from 'react-redux'; 2import LobinBox from '../components/LoginBox' 3const mapStateToProps = (state) => { 4 return {}; 5}; 6 7const mapDispatchToProps = (dispatch) => { 8}; 9 10export default connect( 11 mapStateToProps, 12 mapDispatchToProps 13)(LobinBox); - 在
App.js中使用 LoginBox Container1import LoginBox from './containers/LoginBox' 2class App extends Component { 3 render() { 4 return ( 5 <div className="App" > 6 Hello React: {this.state.name} 7 <LoginBox /> 8 </div > 9 ); 10 } 11}
加入 message state:配置空間和設定預設值
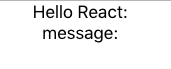
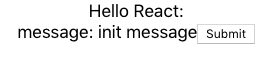
因為 LoginBox container 的 message 的值我們還沒有設定,所以你打開 npm run start,只會看到
- 在
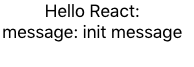
RootReducer中設定 message state 變數和它初始的值1// reducers/RootReducer.js 2const initState = { 3 message: 'init message', 4}; 5...略 - 在 LoginBox container 指定要使用這 state
這裡的 state 就是 store 中全部的 state,就是
1// containers/LoginBox.js 2const mapStateToProps = (state) => { 3 return { 4 message: state.message, 5 }; 6}; 7...略RootReducer中定義的 state。connect(...)(LoginBox)就好像把message送入 LoginBox pure component, ex:<LoginBox message={state.message} />
結果如下:
加入行為
假如我們按一個 Button 就要改變 message 的值。
-
在 LoginBox 加入一個 Button 和定義一個
onClickSubmitcallback1class LoginBox extends Component { 2 render() { 3 return ( 4 <div> 5 message: {this.props.message} 6 <button onClick={this.props.onClickSubmit}>Submit</button> 7 </div > 8 ); 9 } 10} -
開一個 actions 資料夾,建立
LoginBoxActions.js1export const identityOnClickSubmit = 'identityOnClickSubmit'; 2 3export function onClickSubmit(data) { 4 return { 5 type: identityOnClickSubmit, 6 payload: data, 7 }; 8};我們很刻意的把資料放到
playlod中(叫data也可以),這不是一定要這麼做,只是為了保留最外層是 action 的專用屬性,防止data內也有type屬性干擾 action 最外層屬性。另外也有個好處,data是陣列時,就有通用屬性名playlod可以取出陣列。 -
在 LoginBox container 指定要使用
onClickSubmit來派分(dispatch)一個 action1...略 2const mapDispatchToProps = (dispatch) => { 3 return { 4 onClickSubmit() { 5 dispatch(actions.onClickSubmit({message: 'clicked'})); 6 } 7 } 8}; 9...略 -
RootReducer 要監控這個 action (即
identityOnClickSubmit)1import * as actions from '../actions/LoginBoxActions'; 2...略 3const reducer = (state = initState, action) => { 4 const {type, payload} = action; 5 switch (type) { 6 case actions.identityOnClickSubmit: { 7 const {message} = payload; 8 return Object.assign({}, {message}); 9 } 10 default: 11 return state; 12 } 13};
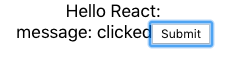
結果如下:
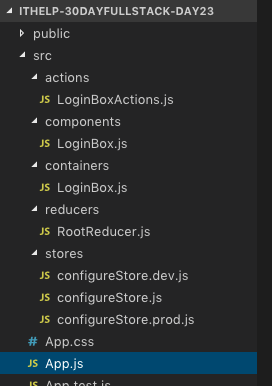
最後看一下我們做了什麼?我們建了 Sore/Action/Container/Components 資料夾,來附合 Flux 架構,大部分 Flux 架構的前端專案都有類似的資料夾
在網頁中如何確認 Redux 有運作
Redux DevTools 用來看 Redux 運作,更明確的說,它在監控「dispatcher 和 action 的運作」及「action 如何影響 state」。馬上來試試看:
- 下載 Chrome extension Redux DevTools
createStore()中加入 store enhancer1// stores/configureStore.dev.js 2import { compose, createStore } from 'redux'; 3import RootReducer from '../reducers/RootReducer'; 4 5const composeEnhancer = window.__REDUX_DEVTOOLS_EXTENSION_COMPOSE__ || compose 6 7export function configureStore(initialState) { 8 const store = createStore( 9 RootReducer, 10 initialState, 11 composeEnhancer() 12 ); 13 return store; 14}-
createStore(reducer, initialState, enhancer)第三個參數是 enhancer,拿來套用第三方的套件,修改 store creator,它是 hight-order function,它結合 store creator 成為另一新的 store creator。 store enhancer 簽章如下:1function StoreEnhancer(next: StoreCreator): StoreCreatorcreateStore(reducer, initialState, enhancer)就像是enhancer(createStore)(reducer, initialState),enhancer(createStore)變成新的 store creator。(見原始碼) -
compose()是拿來以合併 store enhancer 用的。舉個例子:compose(Enhancer1, Enhancer2)(createStore) => Enhancer1(Enhancer2(createStore))
-
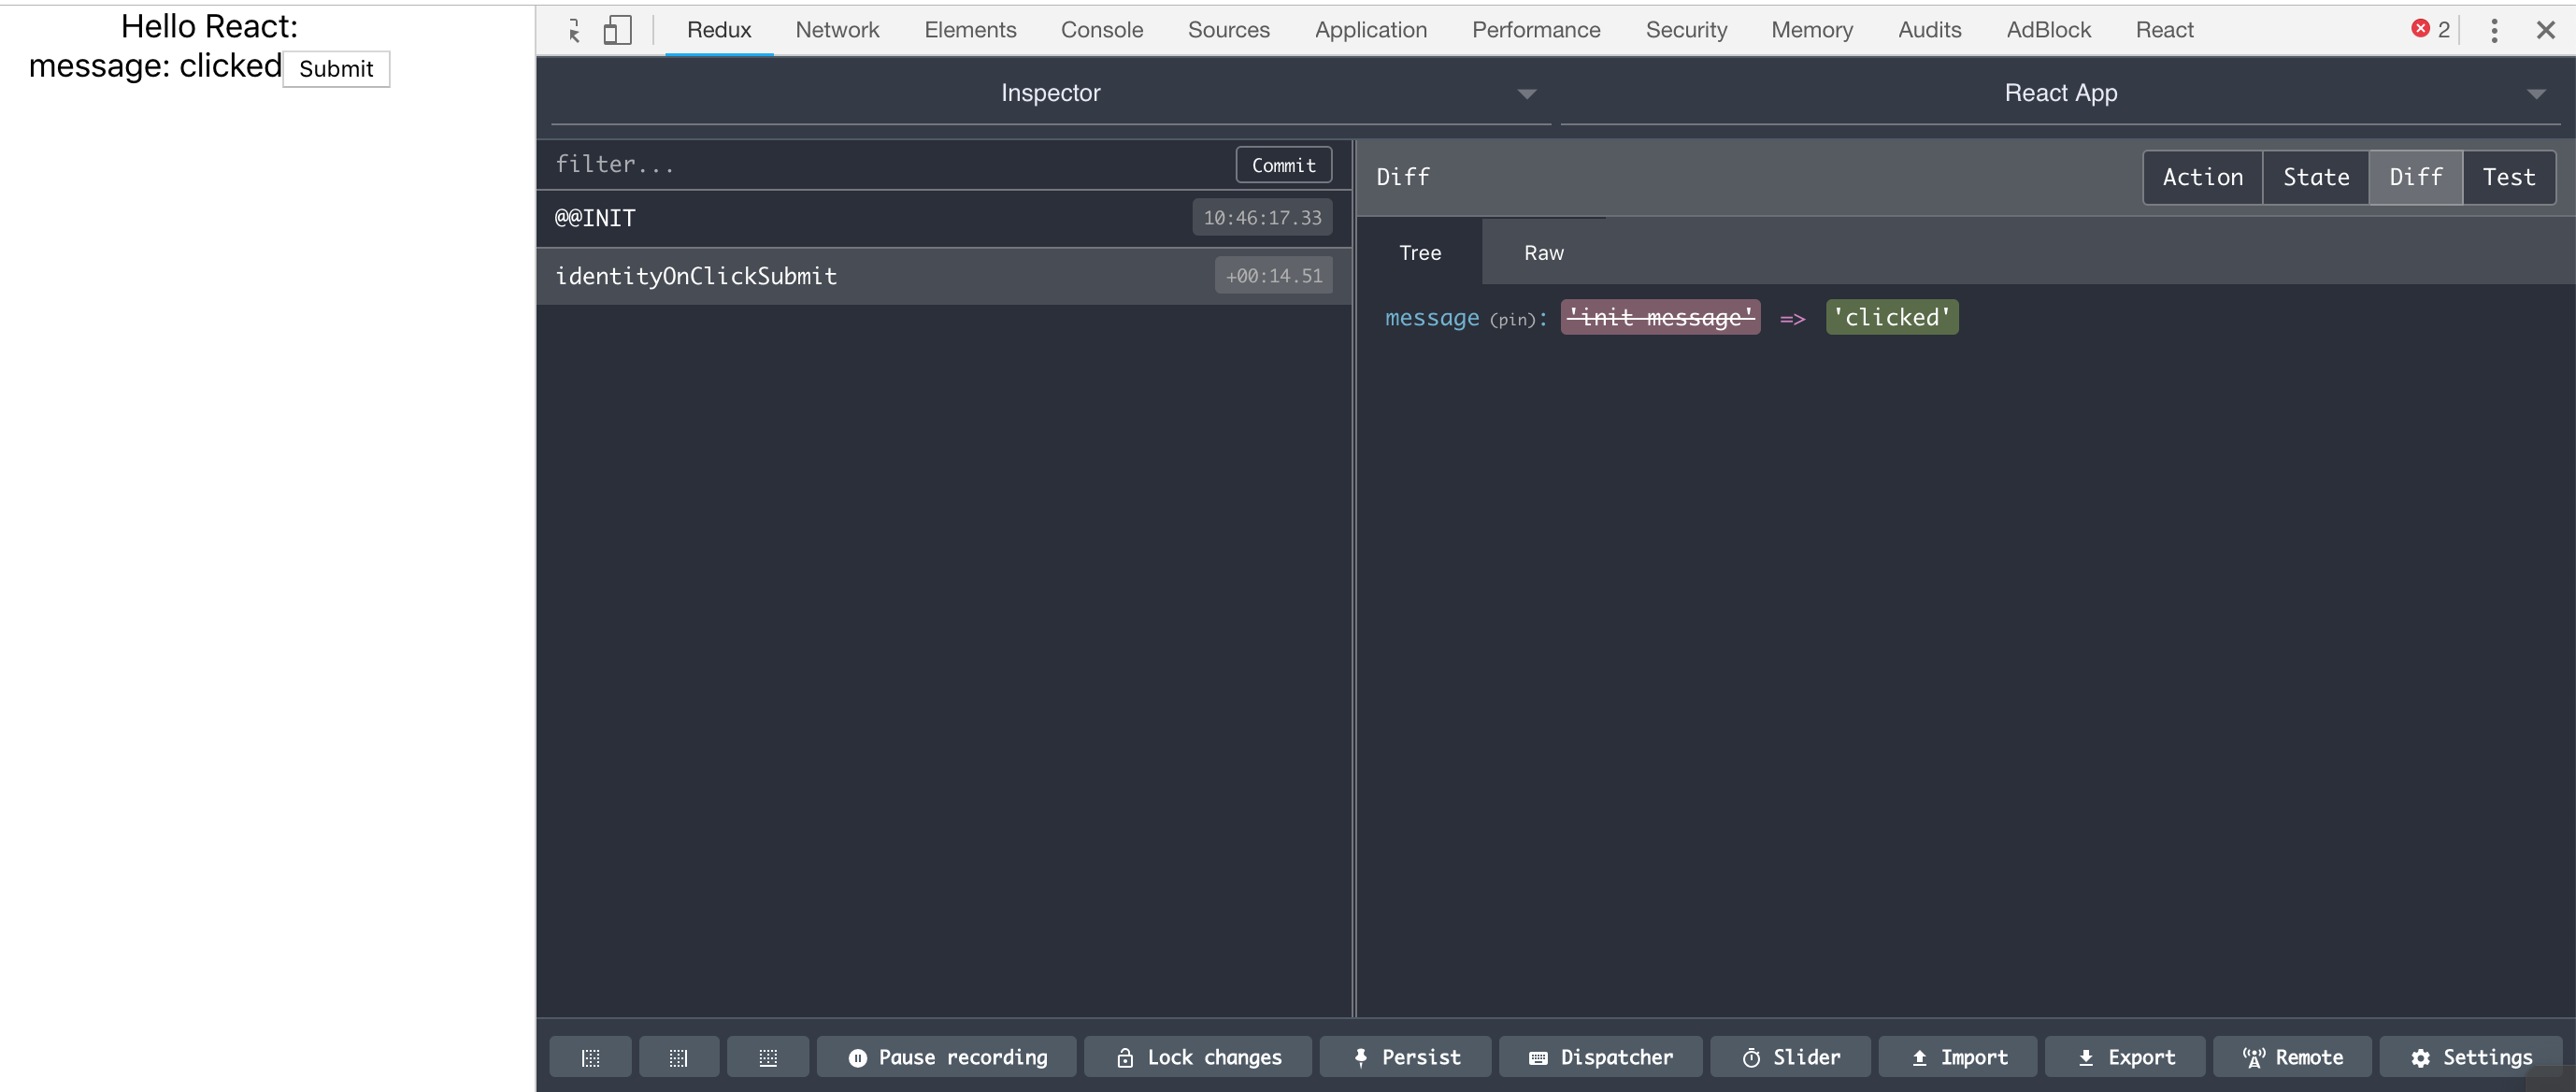
- 開啟 Chrome DevTools(空白處右鍵 Inspect),Redux 頁籤
- 一開啟網站的狀態

- 按下 Submit 後發出 action (action type 是
identityOnClickSubmit)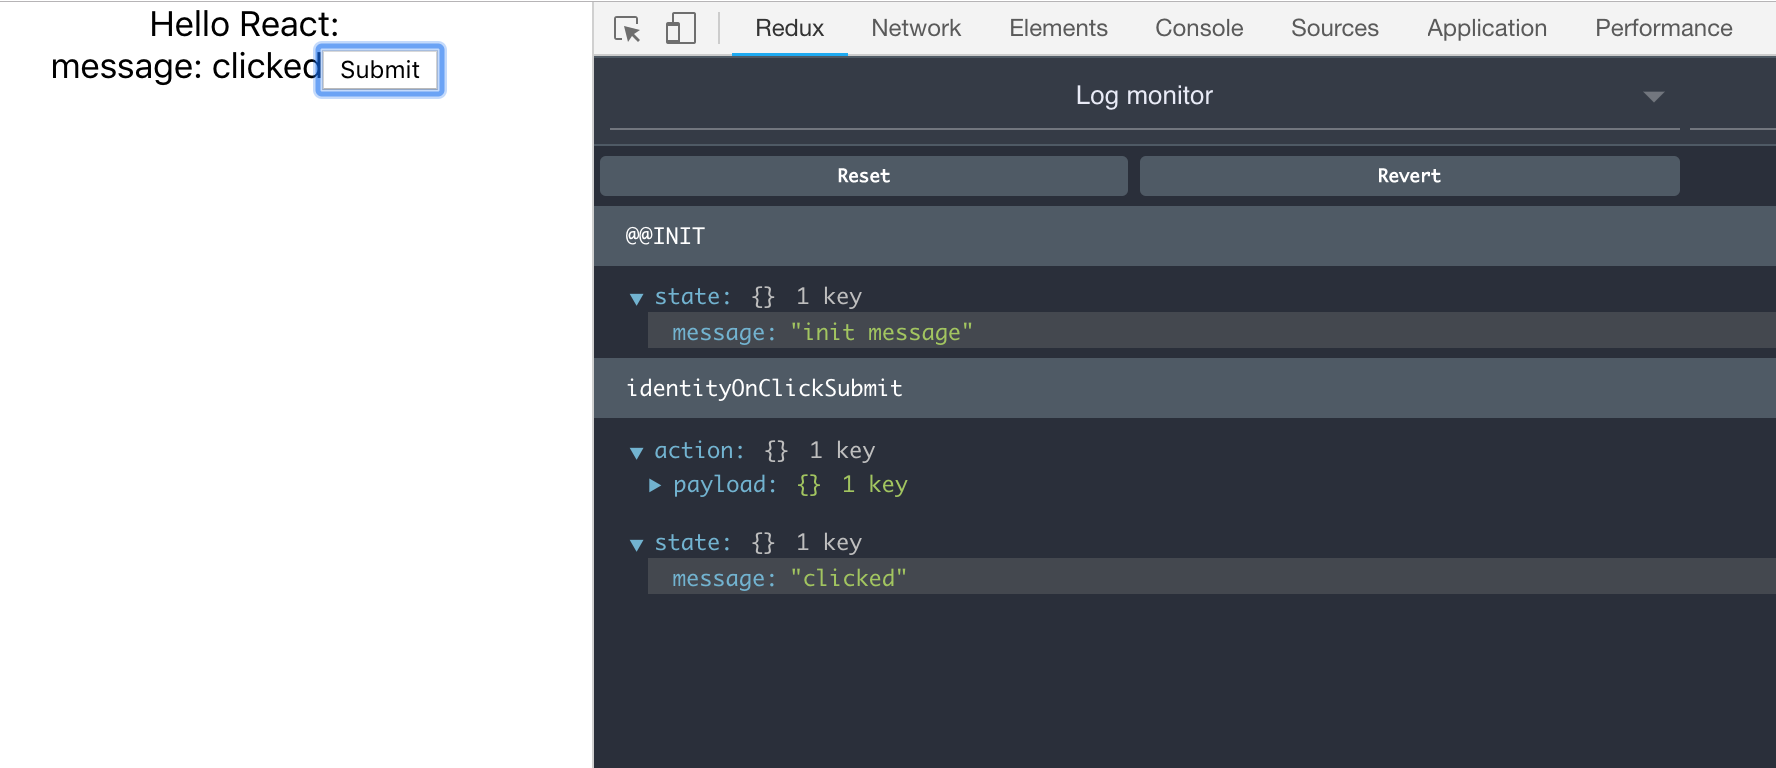
- 一開啟網站的狀態
Redux DevTools 有三種模式
- Log monitor:用來看 action log
- Inspector:最完整的模式。能看 Action/State/Diff/Test,但這模式太大型的網站可能會很慢或當掉
- Chart:state 的結構圖。 redux 的串接(
combineReducers()) 會讓 state 是巢狀 object,這模式可以看 state 結構和各個 state 值。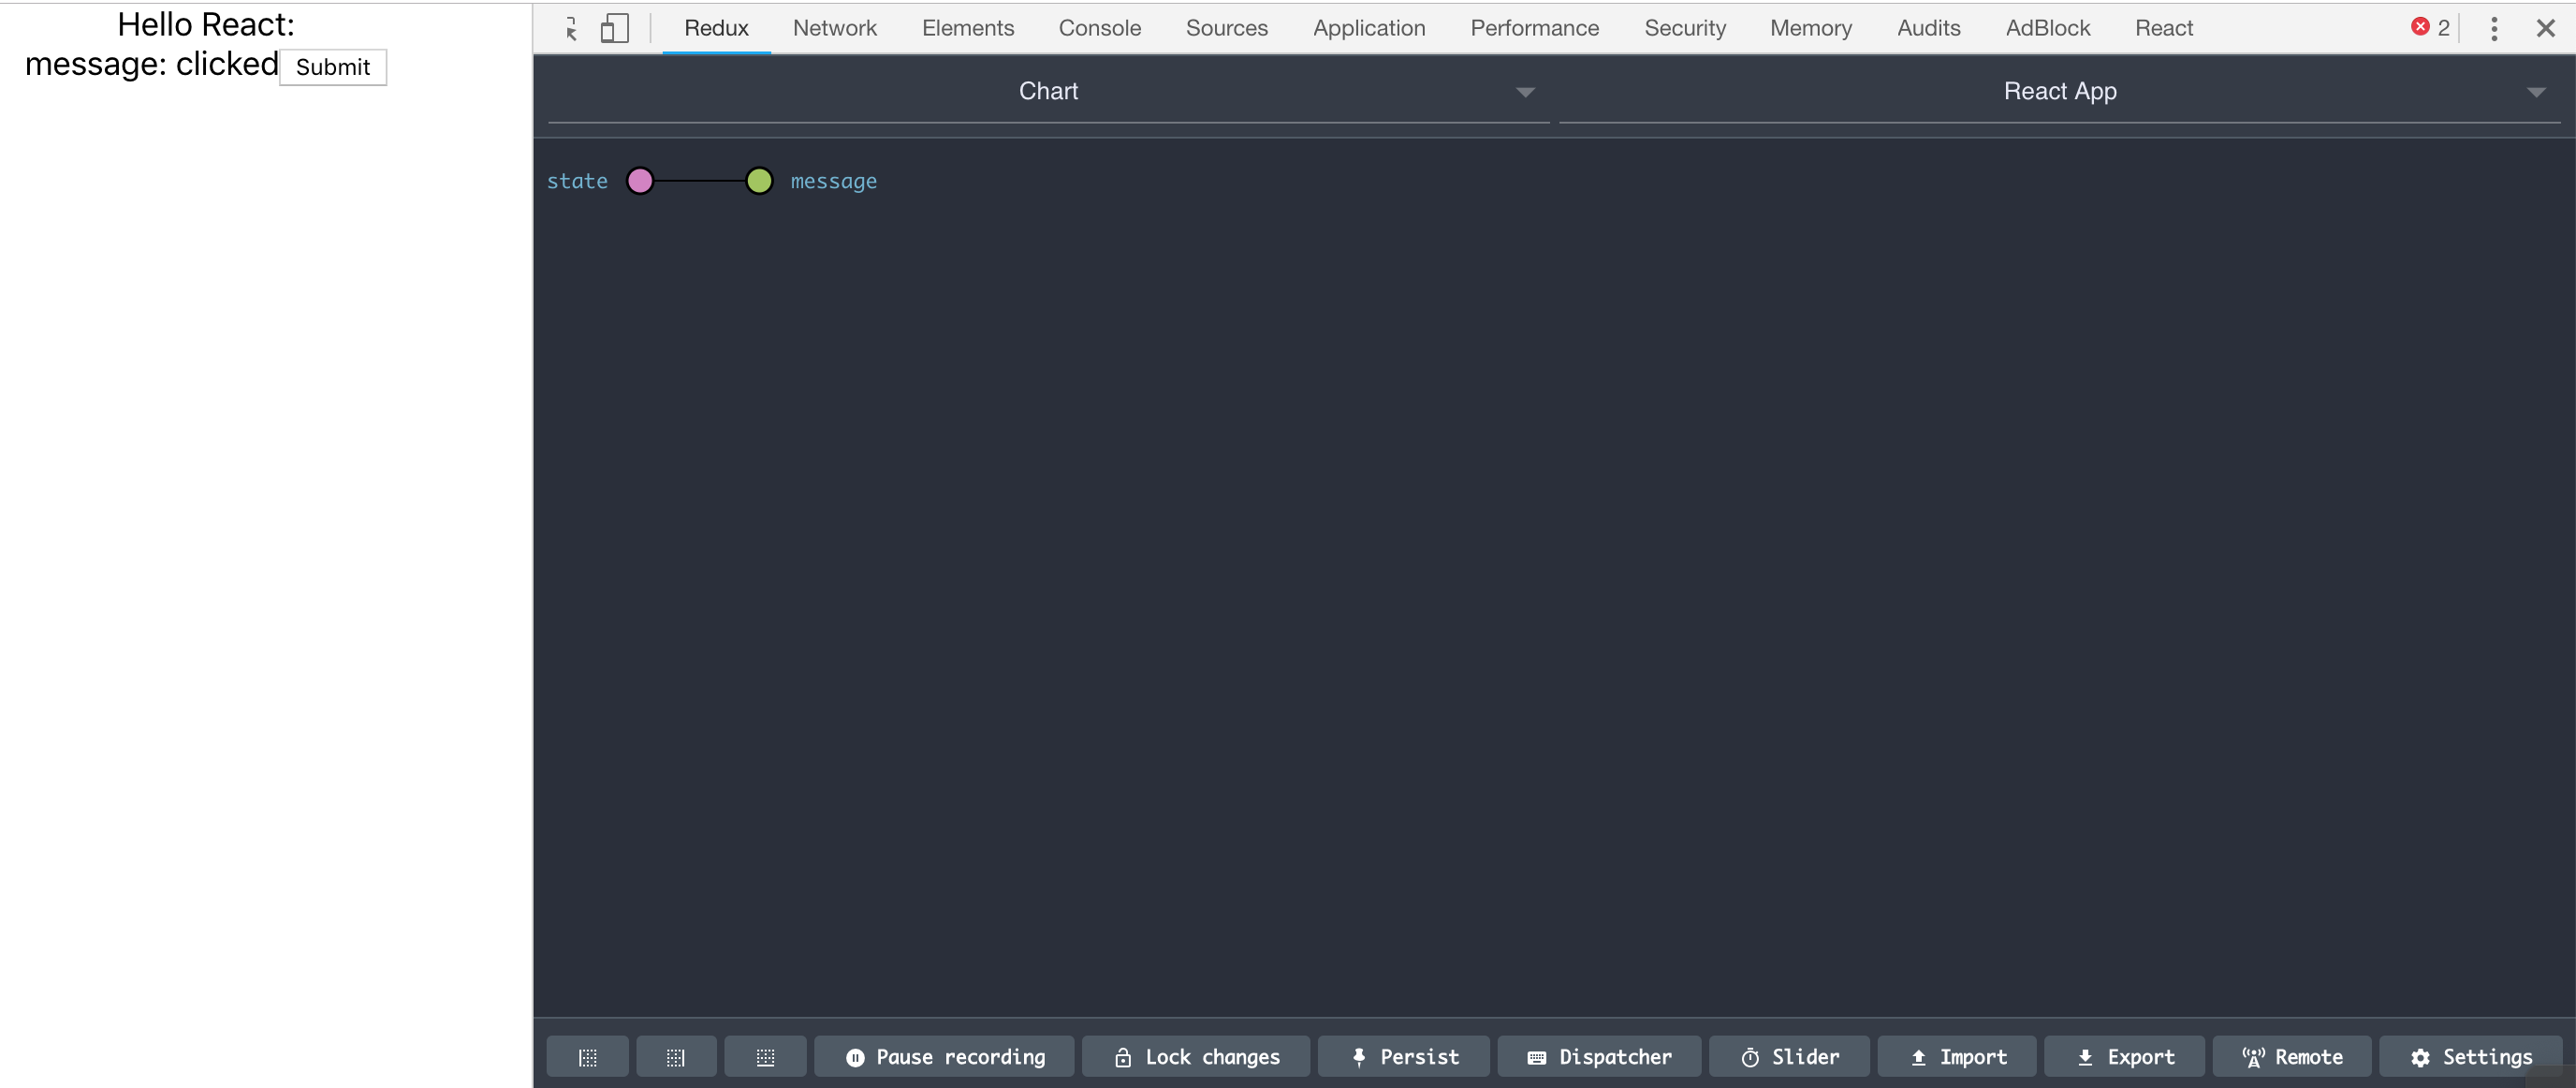
每個模式都有它特別的地方,自己玩看看。
總結
今天我們實際串接 Redux 和 React,利用 react-redux 套件,就不需要自己寫 React Context。為了確保有運行,我們還裝了 Chrome extension Redux DevTools,可以查看 Redux 的運作。
評論